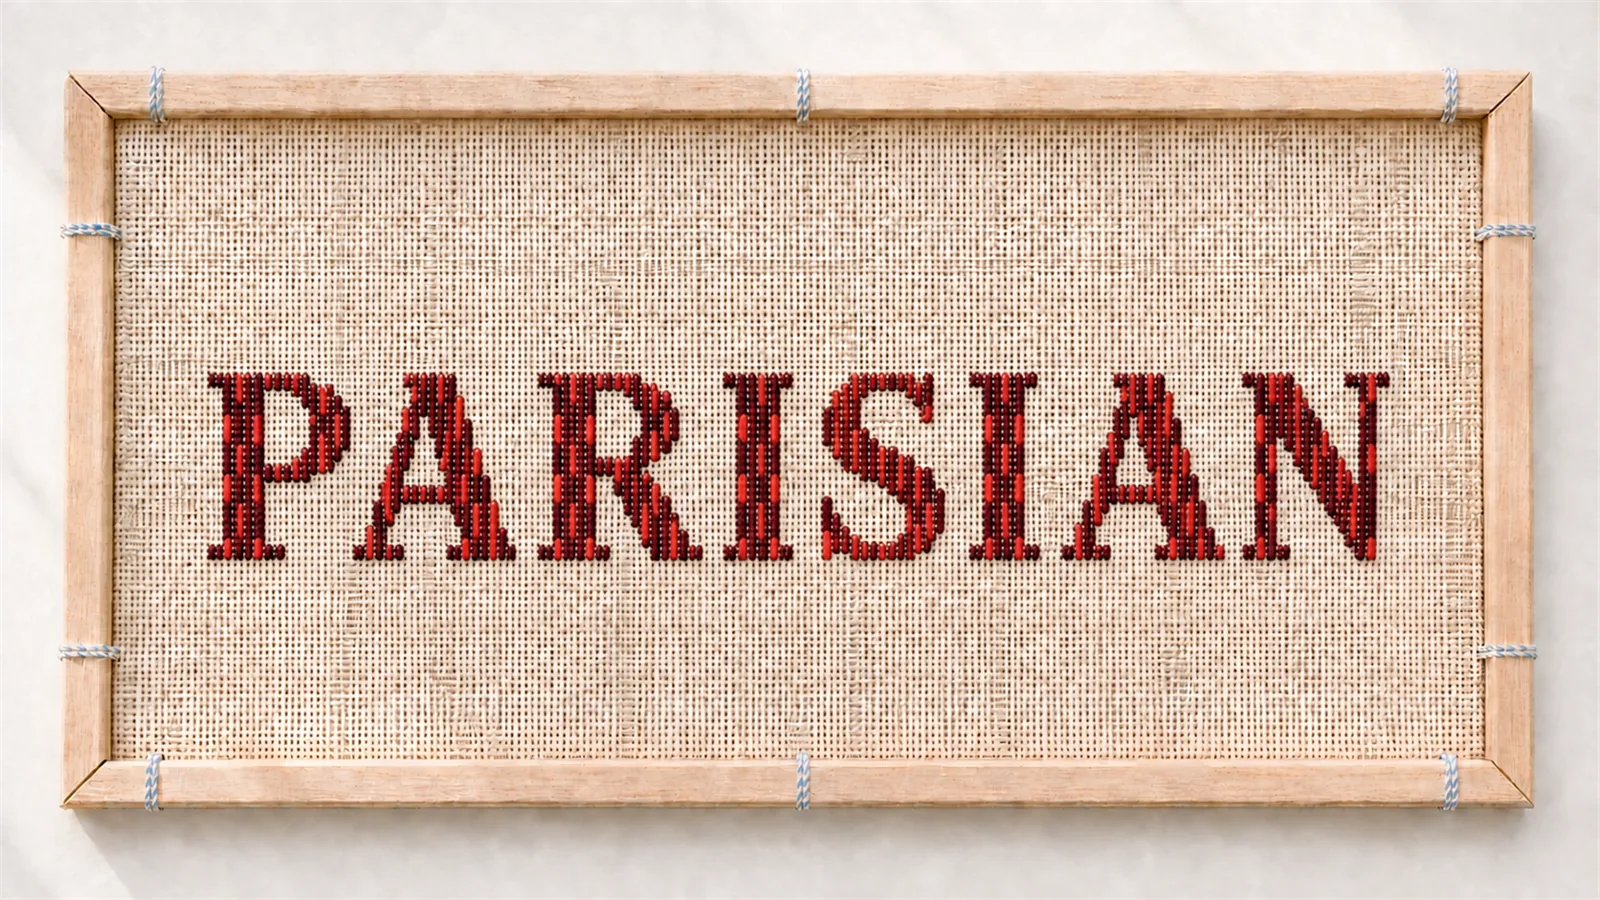
Rows of alternating short and long upright stitches that nest into each other — a simple, elegant straight-stitch pattern with a soft woven look.
The beauty portrait — the stitch spelled in its own texture. Same frame and crop across every stitch in the library.
What the texture looks like
Worked up close: alternating short and long upright stitches, each row reversed so it nests into the last for a soft, woven surface.
Difficulty
Ready for more A counted straight-stitch pattern.
Appearance
A soft, woven texture of nesting long and short uprights.
Coverage
Good and even once the rows nest together.
Pattern repeat
Alternating over-2 and over-4 uprights; rows reversed and nested.
Good for
Backgrounds · borders · calm woven fills.
You’ll need
Tapestry needle · thread that fully covers 13-mesh canvas · one color for practice.
Exactly how to make it
Make one row
Completed stitches are shown in blush, the stitch in progress in red, and the next hole circled in blue. Alternate long (over four) and short (over two) across the row.
1
Come up at 1, go down at 2 — a long upright over four canvas threads (spanning four threads).
2
Come up at 3, go down at 4 — a short upright over two, beside it.
3
Come up at 5, go down at 6 — long again. Long, short, long, short across the row.
4
Come up at 7, go down at 8 — short, keeping the rhythm.
5
Come up at 9, go down at 10 — long.
6
Come up at 11, go down at 12 — short — the row is done. The next row reverses so its long stitches nest under these short ones (below).
Build the pattern
Reversing the second row
Row one alternates long, short, long, short. In row two, reverse the placement: put a short stitch below every long stitch and a long stitch below every short one. That offset is what makes Parisian interlock into a soft, woven surface instead of plain stripes.
Row one — alternating long and short uprights. On its own it reads as stripes.Row two reverses the placement; row three repeats row one. The woven pattern appears.
This is normal: the first row looks like plain stripes. The pattern only appears once the second row nests underneath — its long stitches filling the gaps under the first row’s short ones.
What yours should look like
Front and back
Front — nesting rows of long and short uprights.Back of this worked sample (schematic) — short steps between the uprights.
Common mistake — and the fix
Line up the next row so its long stitches sit under this row’s short ones. Nest them wrong and you get gaps and stripes instead of the smooth woven surface.