Needlepoint for absolute beginners
Learn what the canvas is, which supplies matter, how to make your first stitch, what it costs — and which “rules” you can ignore. No assumed knowledge. No pressure to buy the perfect setup.
No prior experience needed, and no assumed knowledge — just clear, plain-English needlepoint from your very first stitch.
Never held a needle?
One guide takes you from opening the kit to a finished piece ready for the finisher — the canvas, the thread, the needle, where to start, which stitch, what to do at every color change, and how to end. Every small decision, explained in order.
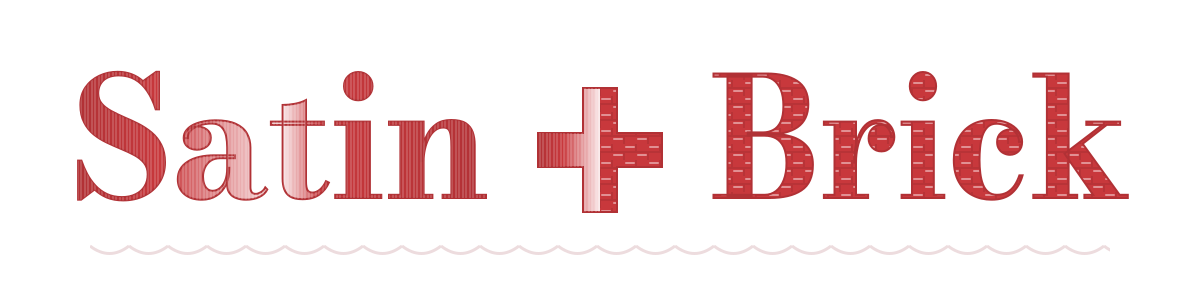
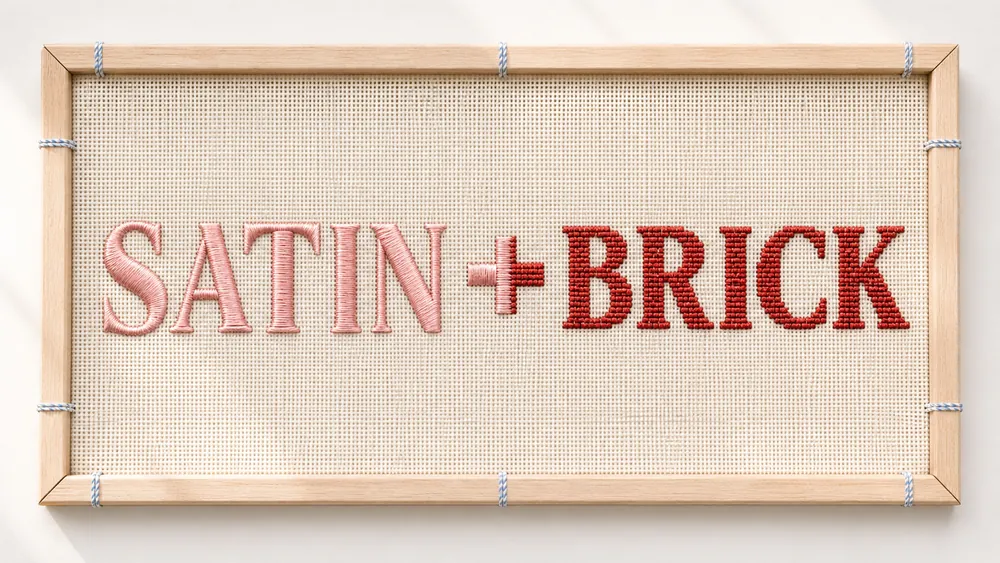
The stitches behind our name
Every needlepoint stitch has a name, a look, and a job to do. We’re building a visual library that explains them one at a time, from your very first — starting with the two that gave us our name.
What it actually is
Needlepoint is stitching on canvas — a stiff, open grid of evenly spaced holes — instead of soft fabric. You bring a threaded needle up through one hole and down through the next, filling the grid one small stitch at a time until a picture appears.
The size of the grid is its mesh count — the number of holes per inch. A lower number (like 13) means bigger holes and faster progress, which is friendlier when you’re starting out.
It’s often confused with embroidery. Embroidery is freehand stitching on cloth; needlepoint is counted stitching that fills a grid. Many canvases have a design painted or printed right on the grid; others use a separate chart. A beginner kit usually gives you the design on the canvas, so you can focus on learning the stitch.
Three pictures that make “what is needlepoint?” click at a glance.
Why it feels harder than it is
You look at a kit and a wall of unfamiliar words — mesh, plies, tent stitch, finishing — and it feels like there’s a set of rules you were supposed to already know. There isn’t. That’s not a knowledge problem. It’s a welcome problem, and it’s the one thing this whole site exists to fix.
What you actually need
Most of what shops sell is a preference, not a requirement. To make your first stitches you need exactly four things — and a complete beginner kit already includes all of them.
The design already on the grid, so you’re not counting from a chart yet.
Pre-matched to the design and the mesh, so the canvas gets covered.
A blunt needle made to slip through the holes without piercing the threads.
On paper, in the box — you shouldn’t need a phone in your hand to start.
Start with the real questions
How to tell a complete kit from a bare canvas, and what a good first project looks like.
Threading the blunt needle, where the first stitch goes, and the temporary knot that starts you off.
An honest range for a first project — supplies, stitching time, and finishing kept separate.
Undoing a stitch, fixing a tangle, and which “mistakes” aren’t mistakes at all.
Cost & time
Needlepoint costs vary by canvas, thread, and finishing. We’re documenting a real beginner project from purchase through completion, so the first range published here includes what was bought, what was optional, active stitching time, and finishing — separately, and honestly. No guessed numbers in the meantime.
This is normal
Your first stitches will look uneven. They’re supposed to — tension evens out with practice, not talent.
You’ll pull stitches out and redo them. Everyone does. The canvas is built to take it.
You’ll be slower than the person in the video. Speed is the last thing to arrive and the least important.
A little canvas will peek through at first. There’s a coverage fix for that, and we’ll walk you through it.
A free, digital Starter Guide for going from “I have no idea what to buy” to your first ten correct stitches — delivered by email. It’s in production now — here’s what will be inside:
Real interior spreads and a page/video count go here once the guide exists — no generic ebook mockups before it’s real.
We won’t ask for your email until the guide can land in your inbox the moment you request it. For now, the beginner path is the place to start.
From our community
Real first finishes from real beginners — first tries, works in progress, the mistakes that got fixed. This section turns on once there are enough approved pieces to fill it honestly.
The First Finishes gallery is already built and hidden. It goes live when there are 9–12 strong, varied submissions.
Why this exists
I couldn’t tell what was included, what half the words meant, or whether I was buying the right thing. I figured if it was that hard for me, it’s that hard for a lot of people. So I started building the guide I wished I’d had — and I’m learning right alongside you, in public.