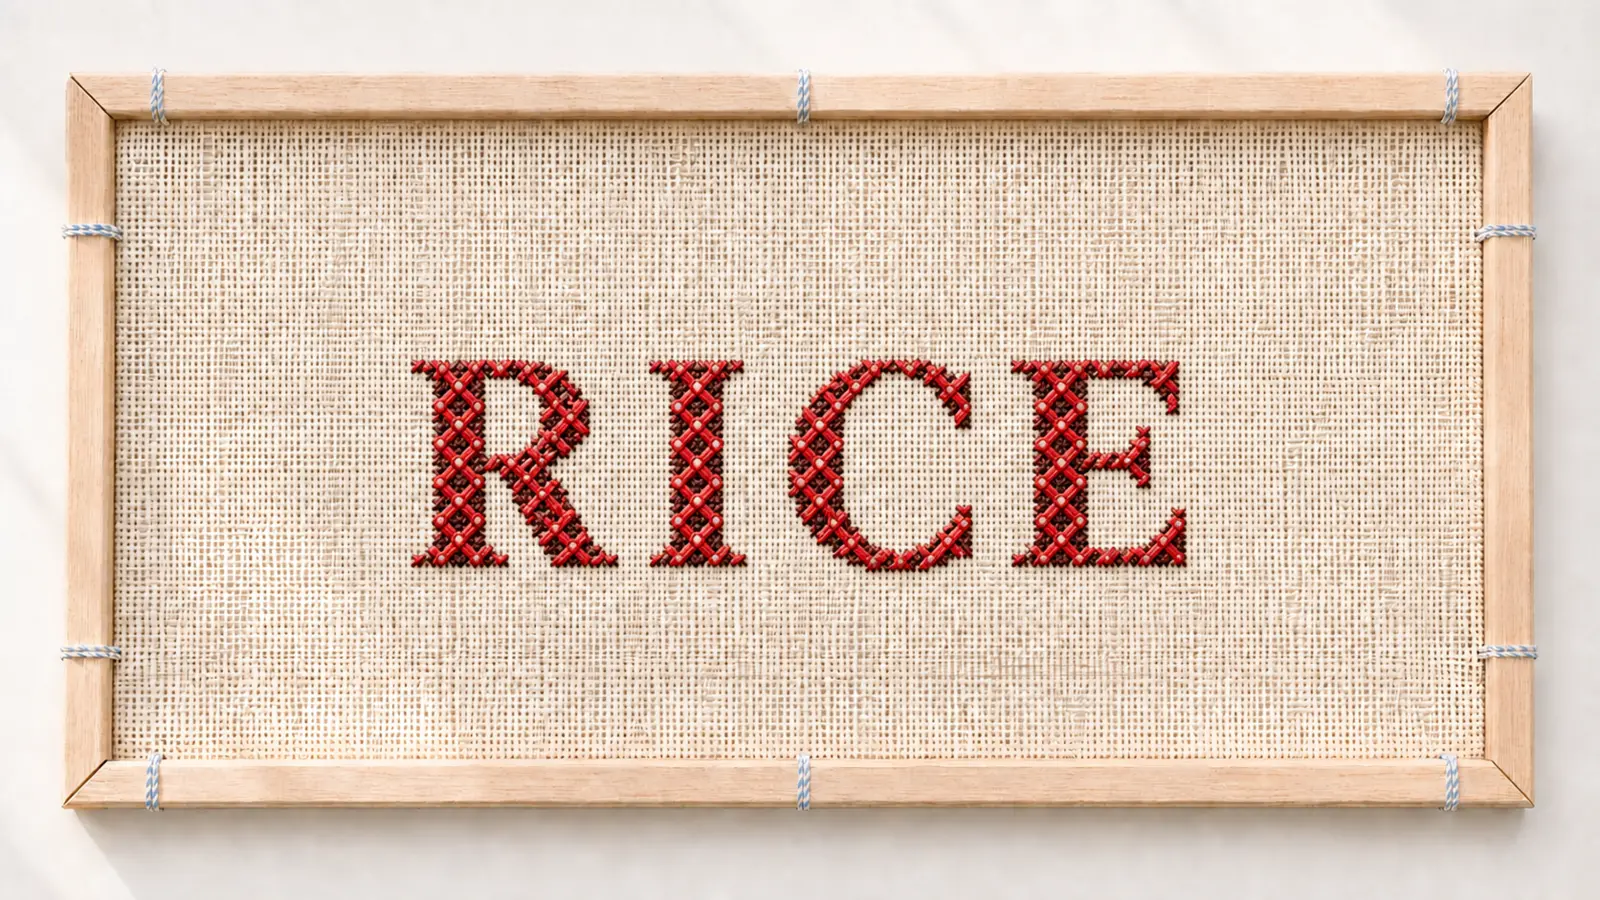
A big cross with its four arms tied down by little corner stitches — a rich, grain-like texture. This page teaches the compact version over a two-by-two square; rice can be scaled up over any larger square too. Especially beautiful in two colors: one for the X, one for the ties.
The beauty portrait — the stitch spelled in its own texture. Same frame and crop across every stitch in the library.
What the texture looks like
Worked up close: large crosses with a short stitch tying down each arm — a dense, grain-like surface.
Difficulty
Ready for more Six stitches per unit.
Appearance
Grain-like crosses with tied-down corners — rich and formal.
Coverage
Excellent. Especially handsome worked in two colors.
Tapestry needle · thread that fully covers 13-mesh canvas · one color for practice (or two colors — one for each layer).
Exactly how to make it
Make one unit
Completed stitches are shown in blush, the stitch in progress in red, and the next hole circled in blue. A big X first, then four short stitches tying its arms.
1
Come up at 1, go down at 2 — the first arm of a large X over two canvas threads (spanning two threads).
2
Come up at 3, go down at 4 — the second arm completes the big X.
3
Come up at 5, go down at 6 — a short stitch crossing the tip of the first arm.
4
Come up at 7, go down at 8 — cross the next arm.
5
Come up at 9, go down at 10 — and the next.
6
Come up at 11, go down at 12 — the fourth corner stitch. Four little ties tuck the X’s arms down.
Build the pattern
From one unit to a filled grid
Rice tiles the same way as an ordinary cross — each big X on its own two-by-two square, the next unit right beside it. Many stitchers lay all the large Xs first, then go back and add the corner ties (often in a second color), which keeps the ties even and cuts down color changes.
Two units side by side — a big X with its four corner ties.A second row below. Worked in two colors, the ties read as a bright net over the darker crosses.
This is normal: the corner ties feel fiddly at first. They’re short and forgiving — their only job is to catch each arm of the X and pull it gently toward the corner.
What yours should look like
Front and back
Front — tied crosses in a dense, grain-like field.Back of this worked sample (schematic) — carries between the crosses and their ties.
Common mistake — and the fix
Cross each of the four arms at the same distance from the center. You may complete one unit at a time, or lay all the large Xs first and then add the ties — if you use two colors, working in layers reduces color changes.