Stitch Library
Cross stitch
Two little diagonals crossed into an X — a bold, textured stitch that covers firmly and reads as neat, even rows.
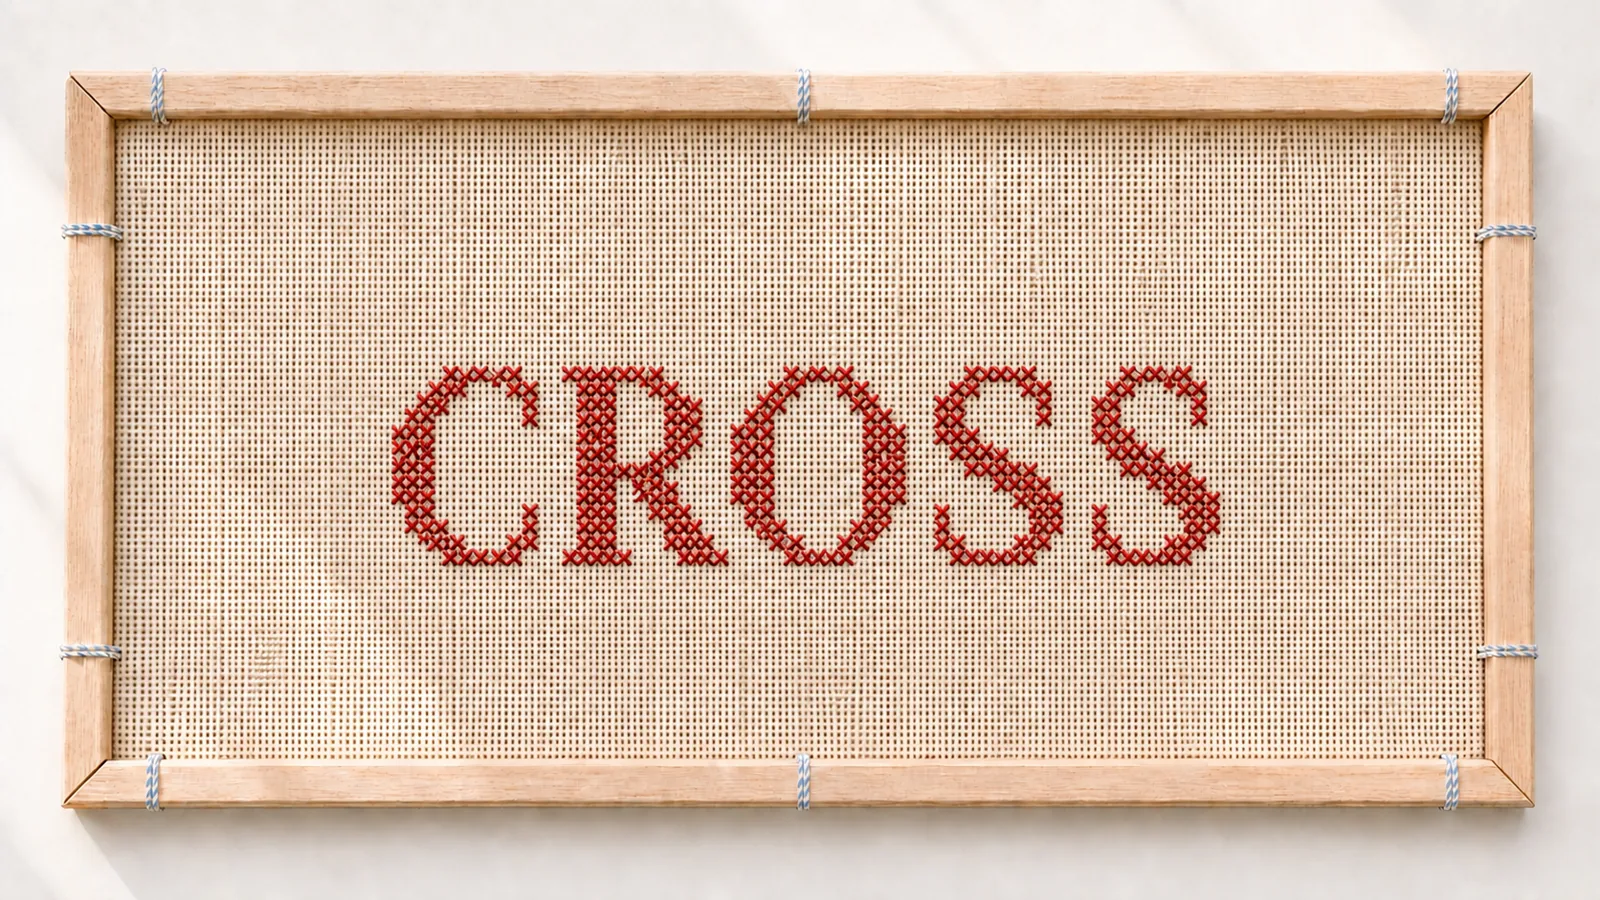
The beauty portrait — the stitch spelled in its own texture. Same frame and crop across every stitch in the library.
What the texture looks like
Worked up close: a field of small, even X’s, each one two diagonals crossed over a single intersection of the canvas.Exactly how to make it
One cross at a time
Completed stitches are shown in blush, the stitch you're making now in red, and the next hole to come up through is circled in blue. Each cross is two arms: one diagonal, then the other across it.
1
Come up at 1, go down at 2 — the first arm: a diagonal from lower-left to upper-right.
2
Come up at 3, go down at 4 — the second arm crosses it, upper-left to lower-right. That’s one complete X.
3
Come up at 5, go down at 6 — the first arm of the next cross, right beside it.
4
Come up at 7, go down at 8 — cross it to finish the second X.
5
Come up at 9, go down at 10 — first arm of the third cross.
6
Come up at 11, go down at 12 — cross to finish. A neat row of even X’s.
This is normal: your first few crosses will look a little uneven, and the arms may not sit at matching angles. Keep the crossing arm going the same way each time and the row settles into an even texture on its own.
What yours should look like
Front and back
Common mistake — and the fix
Cross every X the same way — make the top arm go in the same direction every time (for example, always upper-left to lower-right). If some cross one way and some the other, the surface looks restless and catches the light unevenly.
Keep going
Next in your stitch path
The Stitch Library
Written for absolute beginners, in plain language.
Spot something we could make clearer or more precise?
Report a correction →