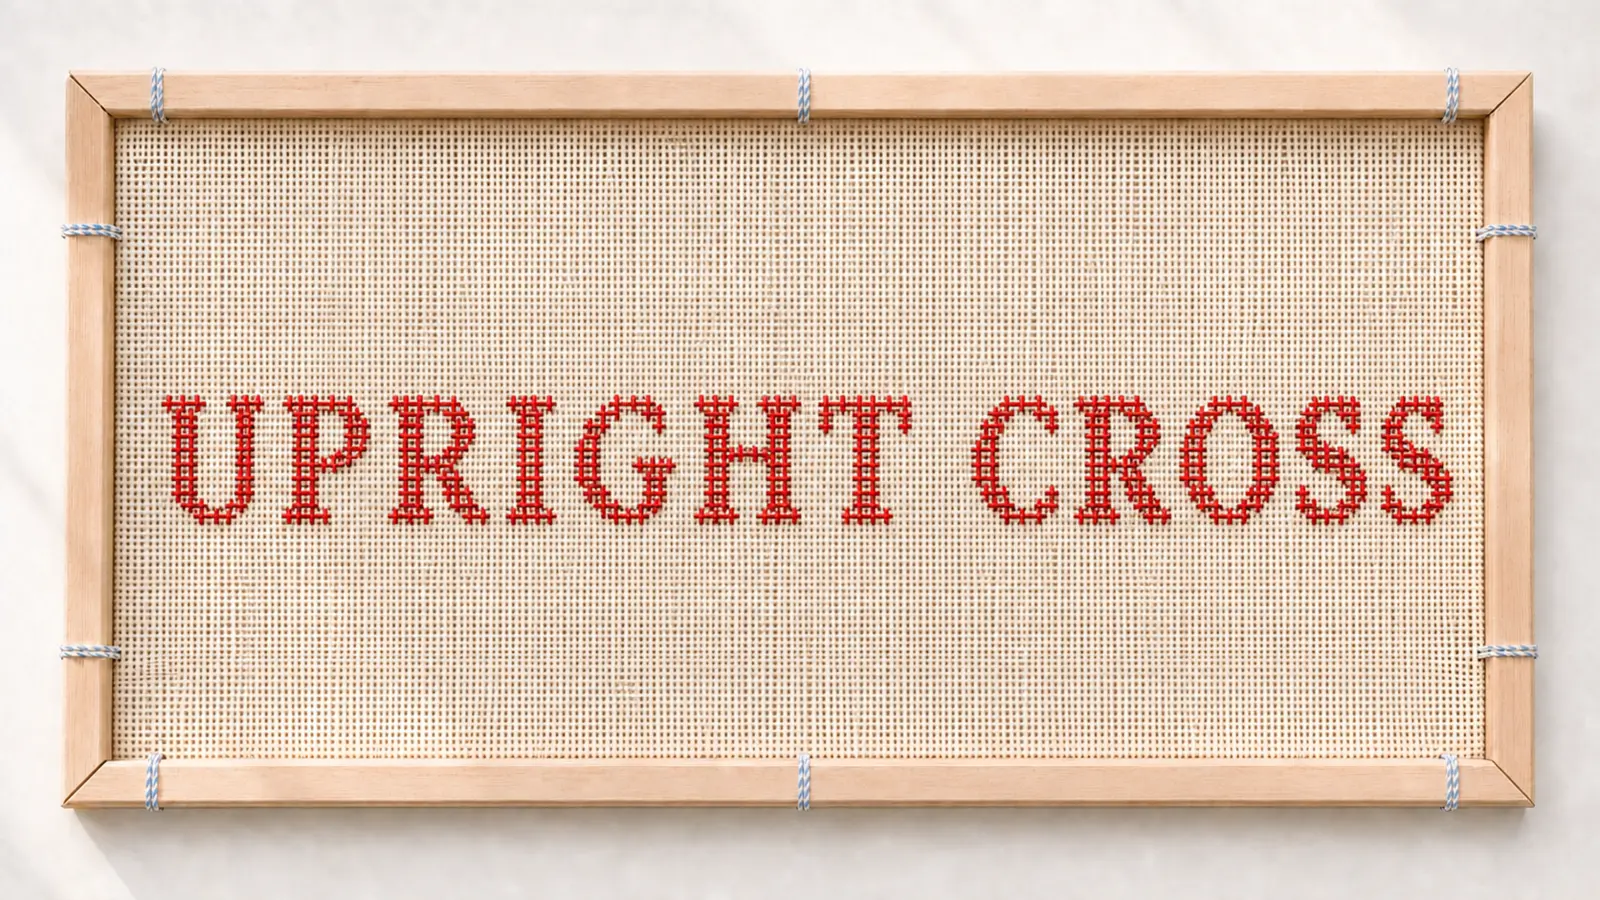
A little plus sign — one upright and one horizontal stitch crossed. Worked in offset rows it makes a firm, pebbly texture quite unlike the slanted stitches.
The beauty portrait — the stitch spelled in its own texture. Same frame and crop across every stitch in the library.
What the texture looks like
Worked up close: a field of small plus signs, each an upright crossed by a horizontal over two canvas threads, rows nesting into each other.
Difficulty
Beginner Two simple straight stitches.
Appearance
A firm, pebbly field of little plus signs.
Coverage
Good and sturdy — two stitches over every crossing.
Tapestry needle · thread that fully covers 13-mesh canvas · one color for practice.
Exactly how to make it
Make the first two crosses
Completed stitches are shown in blush, the stitch in progress in red, and the next hole circled in blue. Each cross is an upright, then a horizontal on top.
1
Come up at 1, go down at 2 — an upright vertical stitch over two canvas threads (spanning two threads of the canvas).
2
Come up at 3, go down at 4 — a horizontal stitch across it, over two threads — a small plus sign.
3
Come up at 5, go down at 6 — the vertical of the next cross, beside the first.
4
Come up at 7, go down at 8 — cross it horizontally to finish the plus. Then offset the next row (below).
Build the pattern
Offsetting the second row
A field of upright crosses is not built in straight columns. Each new row drops down and shifts over by one hole, so its crosses settle into the little spaces left by the row above — that offset is what gives the stitch its firm, woven pebble.
Row one — upright crosses spaced evenly along the row.Rows two and three sit half a step over, each cross nesting into the gap of the row above.
This is normal: the first few crosses feel fussy holding the upright while you lay the horizontal. Work all the uprights of a row first, then all the horizontals, and it goes faster.
What yours should look like
Front and back
Front — offset rows of small plus signs, nesting together.Back of this worked sample (schematic) — short carries between the crosses.
Common mistake — and the fix
Work the vertical stitch first and the horizontal on top every time. Offset the next row so its crosses sit in the spaces of the row above. Changing the order, or lining every row up in columns, changes the texture.