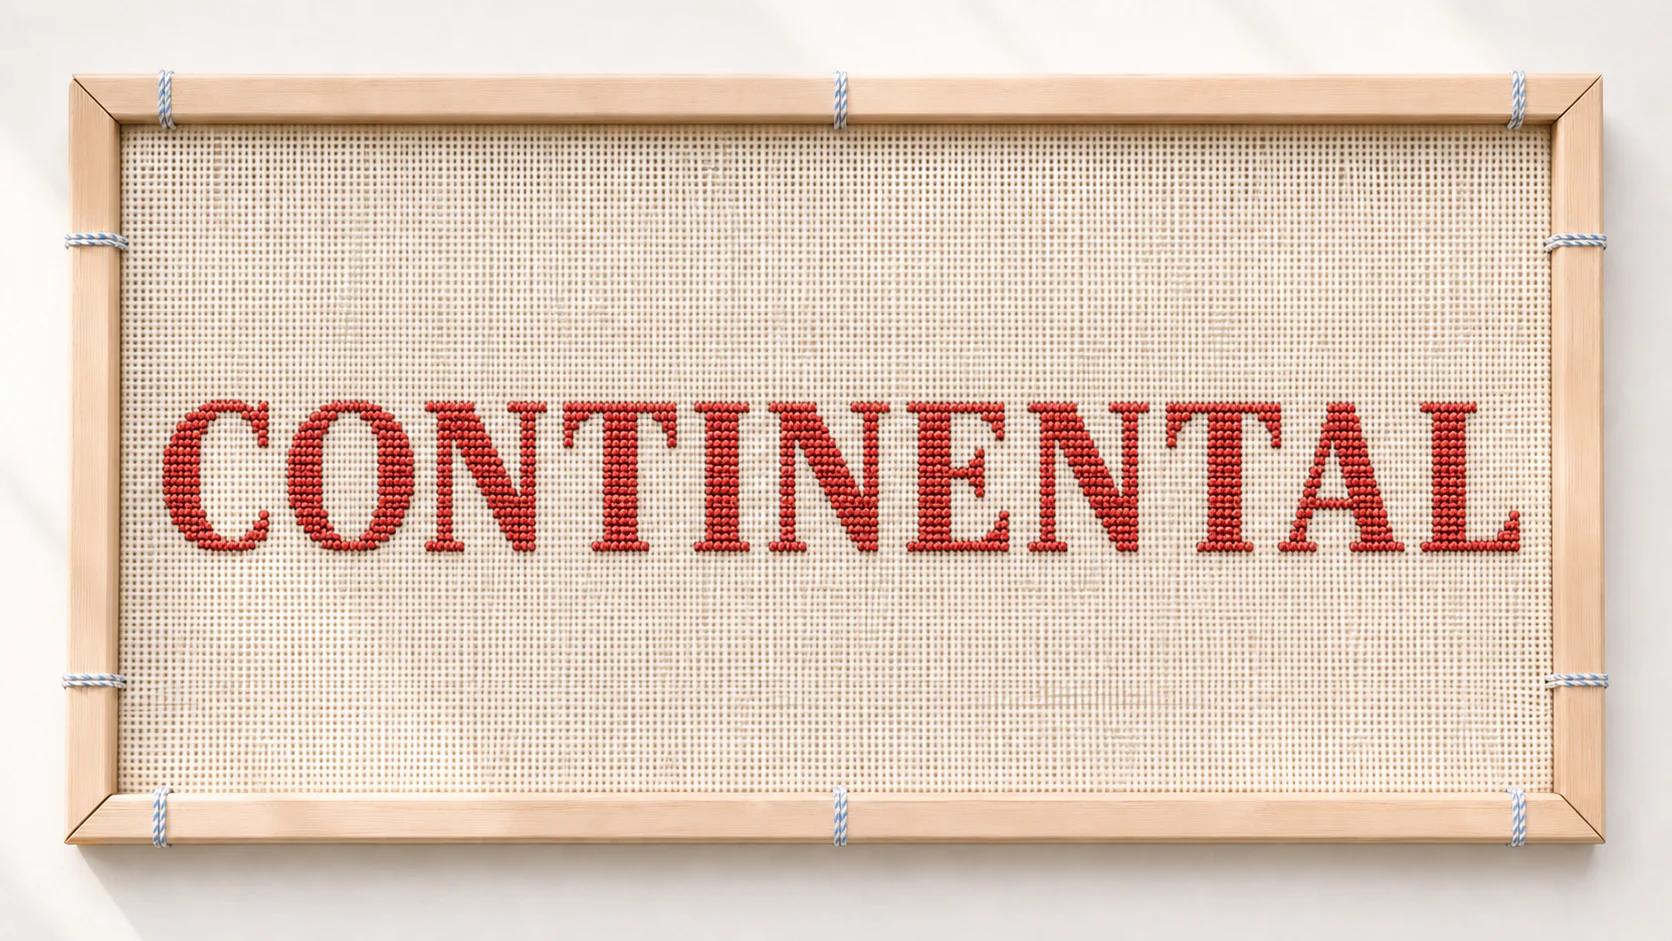
The everyday way to work tent stitch — smooth, solid rows worked one after another. A little more thread than half-cross, and more durable for it.
The beauty portrait — the stitch spelled in its own texture. Same frame and crop across every stitch in the library.
What the texture looks like
Worked up close: rows of small diagonal stitches, all leaning the same way — the smooth, solid tent surface, worked the everyday way.
Difficulty
Beginner The everyday way to work tent.
Appearance
Smooth, solid diagonal coverage — the classic needlepoint surface.
Coverage
Slightly fuller and more durable than half-cross; it uses a little more thread.
Good for
Lines · lettering · small areas · detail · outlines.
You'll need
Tapestry needle · one thread color · 13-mesh canvas (canvas with 13 holes per inch).
Exactly how to make it
One stitch at a time
Completed stitches are shown in blush, the stitch you're making now in red, and the next hole to come up through is circled in blue. Numbers mark where the needle comes up and goes down.
1
Come up at 1, go down at 2 — a small diagonal over one intersection, lower-left to upper-right.
2
Come up at 3, go down at 4 — the next stitch, one hole to the left, exactly the same slant.
3
Come up at 5, go down at 6 — keep the lean identical across the row.
4
Come up at 7, go down at 8 — working steadily right to left.
5
Come up at 9, go down at 10 — same small diagonal, same lean.
6
Come up at 11, go down at 12 — the row fills as a solid band. Then start the next row (see below).
The return row
Turning at the end of the row
At the end of row one you drop to the next row and work back the other way. The front slant stays identical — but to keep continental’s smooth, durable back, the needle path reverses: you come up at the upper-right and go down at the lower-left.
Row two, first stitch — up at the upper-right, down at the lower-left, now working left to right beneath the finished row.The next stitch continues rightward. Identical slant on the front; mirrored path underneath.
Prefer not to think about it? Turn the whole canvas 180° at the end of every row and work each row exactly like the first — the result is the same.
This is normal: your first row looks uneven, and the return row feels awkward for a stitch or two. Keep the front slant identical and it evens out on its own — everyone’s does.
What yours should look like
Front and back
Front — even diagonals, every one leaning the same way.Back — longer diagonals across the reverse: more thread, fuller cover.
Common mistake — and the fix
At the end of a row, keep the front slant the same. If you don’t reverse your needle path on the return row (or turn the canvas), some stitches flip direction and the surface looks scratchy instead of smooth.