Tent stitch worked in diagonal rows. The front is identical to any tent stitch; the woven back is what keeps a big background from pulling your canvas out of square.
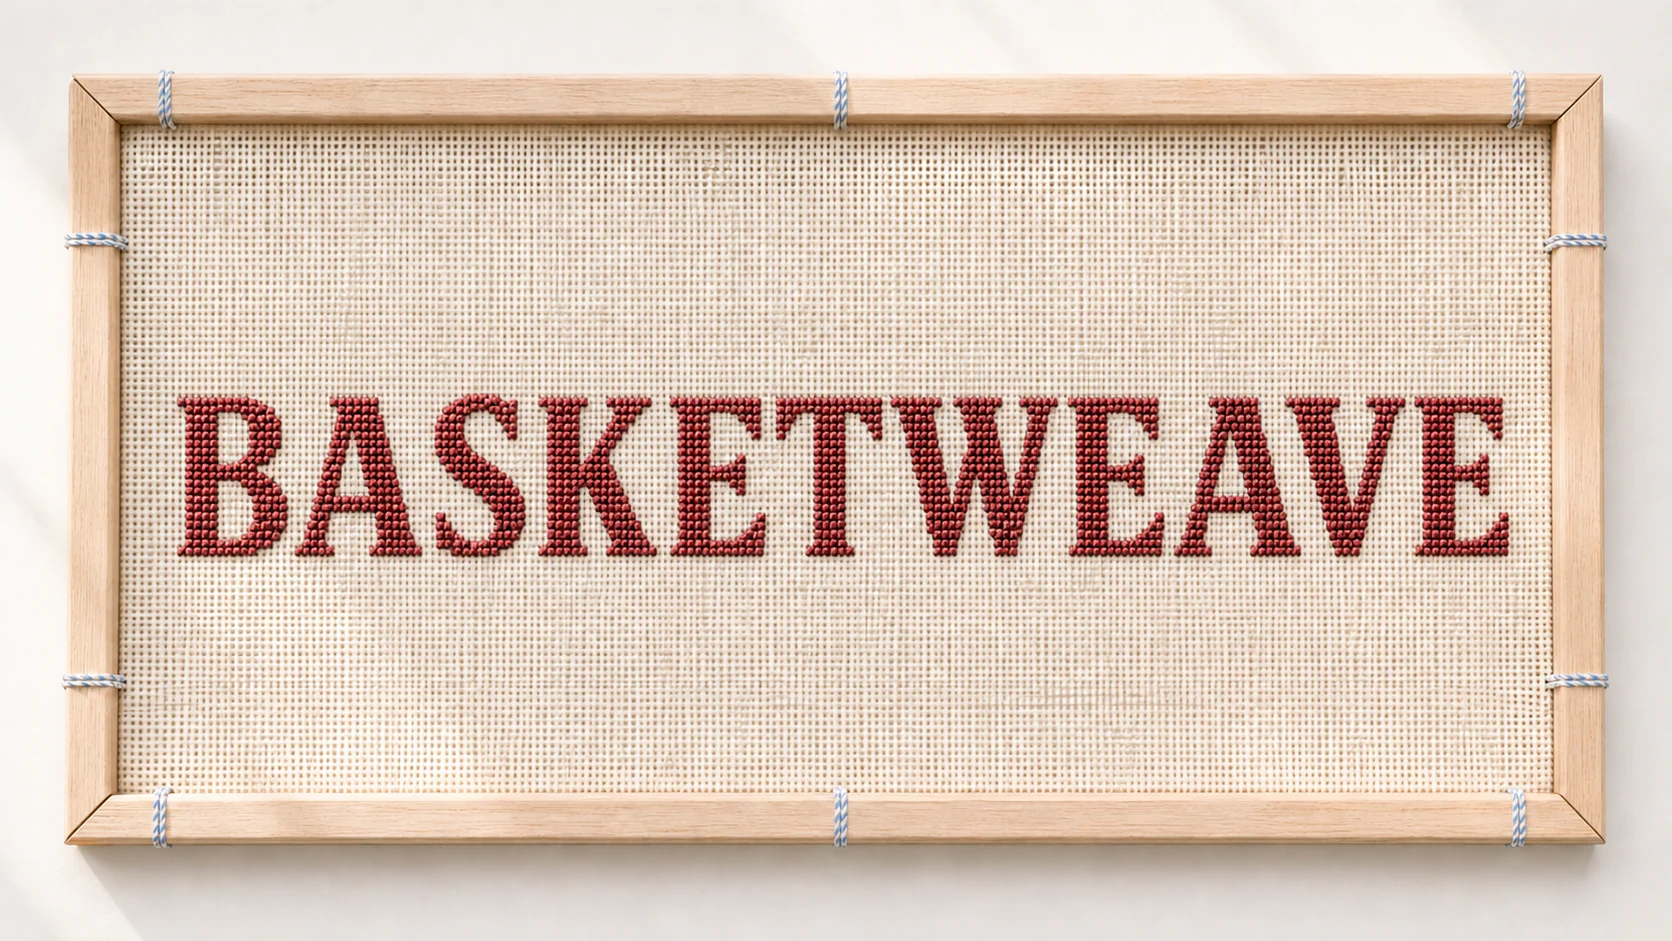
The beauty portrait — the stitch spelled in its own texture. Same frame and crop across every stitch in the library.
What the texture looks like
Worked up close: the same even tent diagonals on the front — the difference is hidden on the back, where the thread weaves like a basket.
Difficulty
Ready for more Once tent feels easy.
Appearance
Identical tent front; a woven, basket-like back.
Coverage
Excellent and stable — the best choice for large areas.
Good for
Backgrounds · large fields · anywhere the canvas must stay square.
You'll need
Tapestry needle · one thread color · 13-mesh canvas (canvas with 13 holes per inch).
Exactly how to make it
Working in diagonal rows
Completed stitches are shown in blush, the stitch you're making now in red, and the next hole to come up through is circled in blue. Notice the order climbs and drops on the diagonal.
1
Come up at 1, go down at 2 — one tent stitch at the top corner.
2
Come up at 3, go down at 4 — the next stitch to the right, beginning a diagonal row.
3
Come up at 5, go down at 6 — drop diagonally down-left. You build in diagonal rows, not straight ones.
4
Come up at 7, go down at 8 — continue the diagonal band.
5
Come up at 9, go down at 10 — a row down, then a row up — that alternation is the whole trick.
6
Come up at 11, go down at 12 — the diagonals interlock and the back weaves like a basket.
Up the steps, down the poles
Why the rows run diagonally
Basketweave fills in diagonal rows that alternate direction — one row worked down the diagonal, the next worked back up. Read the canvas as you go: move up the steps, where the horizontal canvas thread sits on top, and down the poles, where the vertical canvas thread sits on top. On the reverse, down rows form horizontal carries and up rows form vertical carries. Interlocked, they make the woven basket that helps keep your canvas square.
Front — down the diagonal, then up the next. The face stays even tent stitch throughout.Back — alternating horizontal and vertical reverse stitches interlock like a woven basket.
This is normal: the diagonal rhythm feels strange for the first few rows. Say it to yourself — down a row, up a row — and your hand learns the staircase. The reward is a back that barely pulls the canvas out of square.
What yours should look like
Front and back
Front — identical to any tent stitch: even diagonals, one slant.Back — the woven basket that keeps the canvas from distorting.
Common mistake — and the fix
Keep the diagonal order — a row up, a row down. If you lose your place and work straight rows instead, you lose the woven back that stops the distortion, and the whole point of basketweave with it.