Stitch Library
Straight Gobelin stitch
Straight upright stitches worked in even rows — fast, elegant coverage for borders, bands, and calm backgrounds. “Gobelin” can mean the straight or the slanted version; this page teaches Straight Gobelin, the upright one.
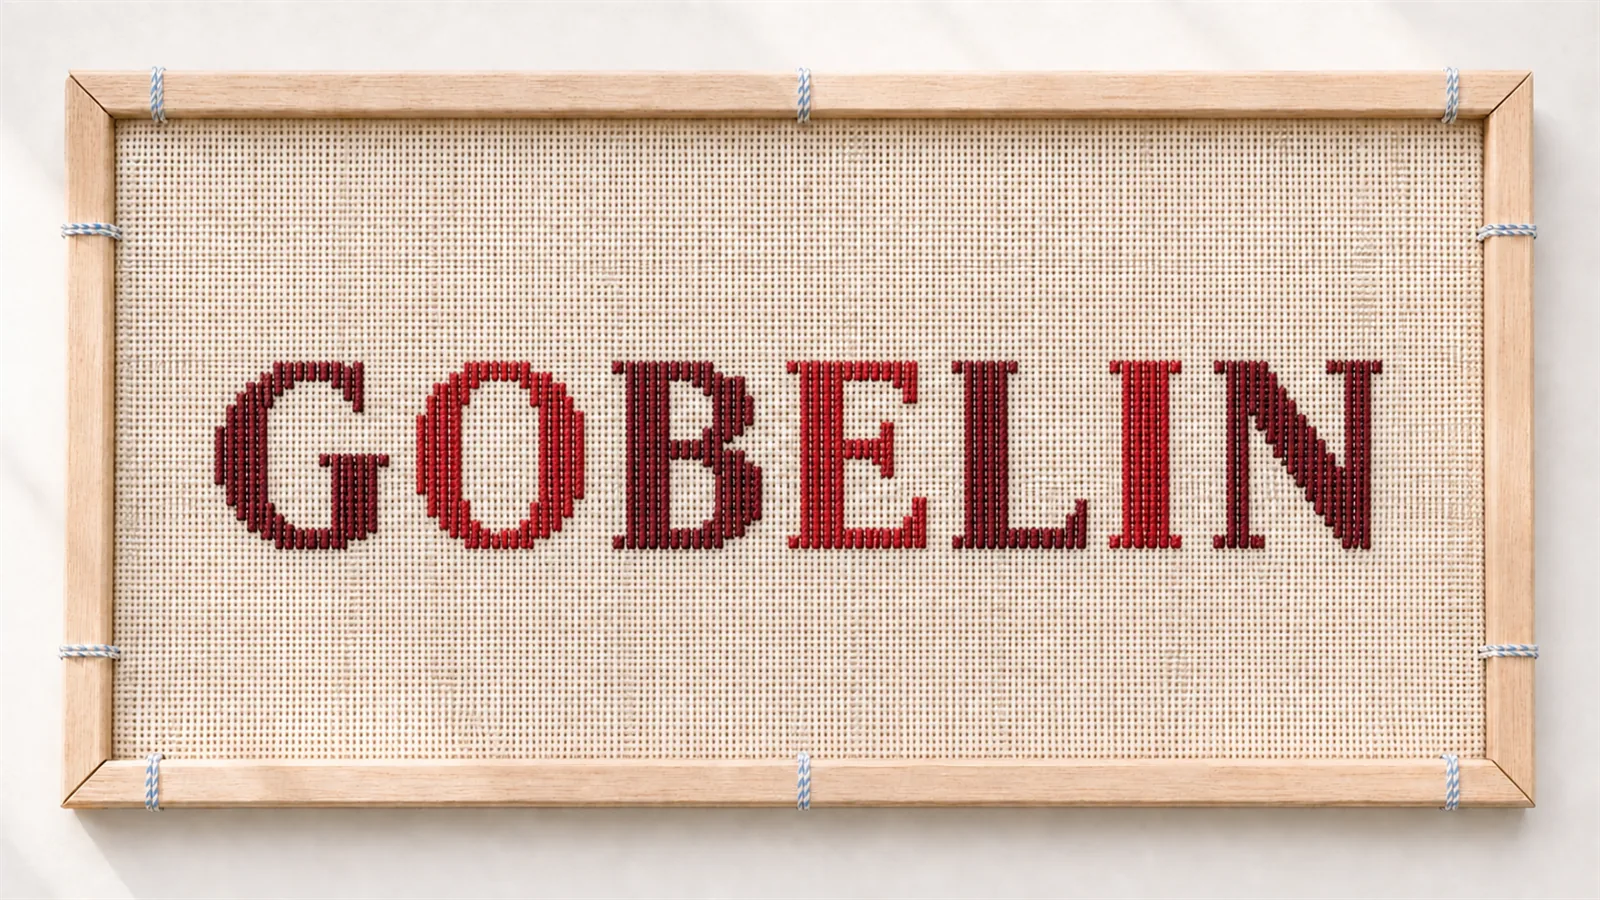
The beauty portrait — the stitch spelled in its own texture. Same frame and crop across every stitch in the library.
What the texture looks like
Worked up close: even upright stitches over two threads, lined up in rows like soft vertical ridges. (This is the unpadded version; some stitchers lay a horizontal thread underneath — “tramming” — for extra plumpness. That’s an optional variation.)Exactly how to make it
One upright at a time
Completed stitches are shown in blush, the stitch you're making now in red, and the next hole to come up through is circled in blue. Numbers mark where the needle comes up and goes down.
1
Come up at 1, go down at 2 — a straight upright stitch over two canvas threads.
2
Come up at 3, go down at 4 — the next upright, right beside it, the same height.
3
Come up at 5, go down at 6 — a neat, even row of uprights.
4
Come up at 7, go down at 8 — keep them all exactly the same length.
5
Come up at 9, go down at 10 — the row reads as a soft ridge.
6
Come up at 11, go down at 12 — start the next row directly below, aligned (not offset like brick). Where the new row meets the row above, take the needle down into the shared, occupied hole — don’t come up through a hole that already holds a stitch, or you can disturb it.
This is normal: straight stitches show the canvas more than diagonals do. If a little peeks through, add a ply of thread — coverage is a thread-thickness fix, not a skill problem.
What yours should look like
Front and back
Common mistake — and the fix
Align each new row directly under the last, not offset. Offsetting the rows by a hole turns Straight Gobelin into brick stitch — a different stitch entirely.
Keep going
Next in your stitch path
The Stitch Library
Written for absolute beginners, in plain language.
Spot something we could make clearer or more precise?
Report a correction →