
Stitch Library
Mosaic stitch
Little woven squares, each made of three diagonals. Your first patterned filling stitch — and a very satisfying one.
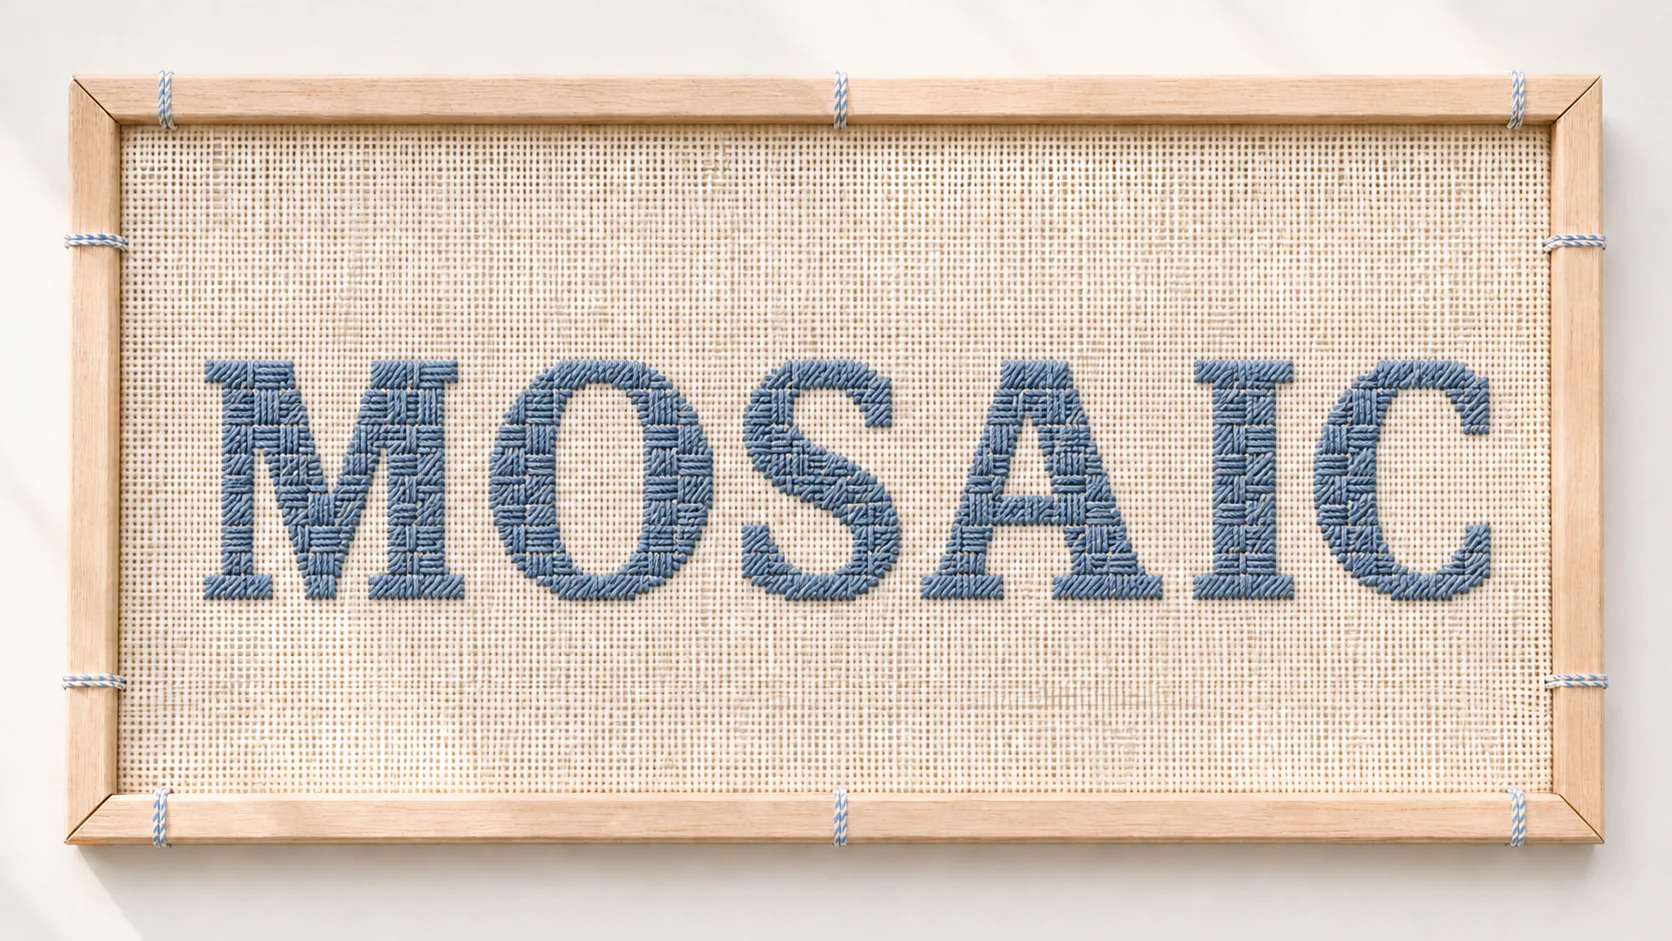
The beauty portrait — the stitch spelled in its own texture. Same frame and crop across every stitch in the library.
What the texture looks like
Worked up close, one block: a short diagonal, a longer one corner to corner, and a short one — three parallel diagonals filling a little square.Exactly how to make it
One little square at a time
Completed stitches are shown in blush, the stitch you're making now in red, and the next hole to come up through is circled in blue. One square is three stitches: small, long, small.
1
Come up at 1, go down at 2 — a small tent stitch over one intersection.
2
Come up at 3, go down at 4 — a longer diagonal over two, corner to corner.
3
Come up at 5, go down at 6 — a second small tent stitch closes the little square.
4
Come up at 7, go down at 8 — start the next square beside it: small…
5
Come up at 9, go down at 10 — …long across the middle…
6
Come up at 11, go down at 12 — …and small again. Each unit is a tidy woven square.
How the squares tile
From one block to a field
Every block is the same trio — short, long, short. Set them side by side and they tile into a field of even little squares, all leaning the same way.
This is normal: the first few squares feel fiddly and the count feels slow. Once the small-long-small rhythm clicks, the little squares line up on their own.
What yours should look like
Front and back
Common mistake — and the fix
Don’t skip the long middle diagonal. Small-long-small is what makes the square read as a square; three small stitches just make tent stitch again.
Keep going
Next in your stitch path
Scotch stitch
Back to the full Stitch Library →
Written for absolute beginners, in plain language.
Spot something we could make clearer or more precise?
Report a correction →