
Stitch Library
Counted satin stitch
Long, smooth, parallel stitches with a soft sheen — the “Satin” in Satin + Brick. Worked counted on the canvas grid (not free-hand on cloth), it’s the fastest way to fill a shape with light.
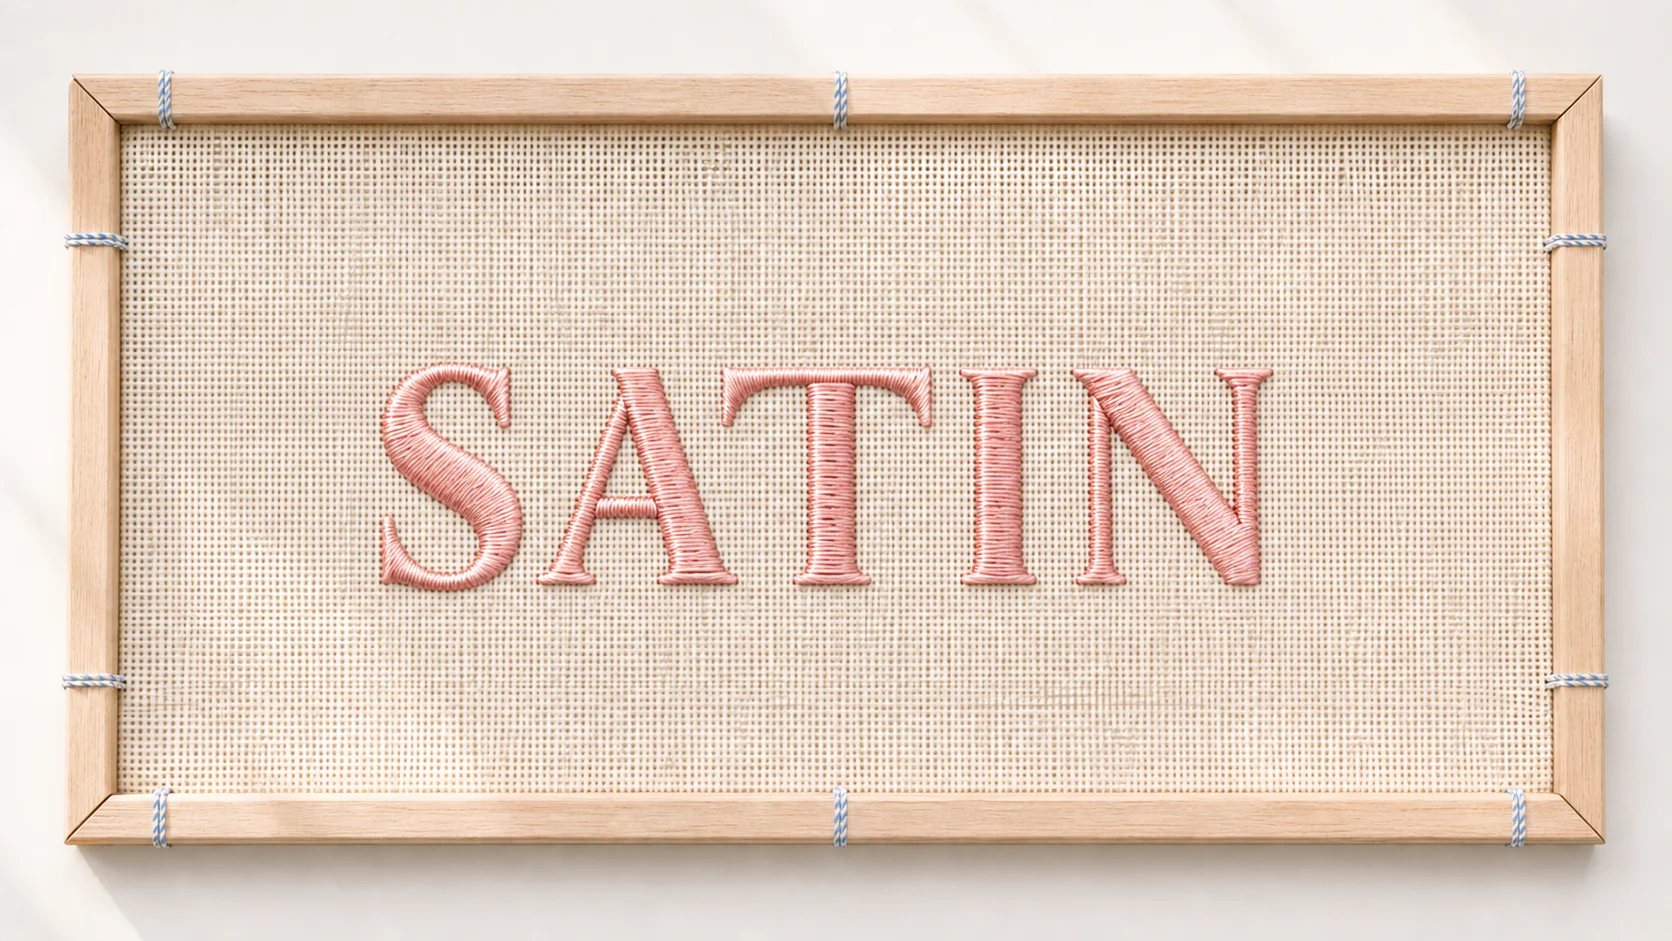
The beauty portrait — the stitch spelled in its own texture. Same frame and crop across every stitch in the library.
What the texture looks like
Worked up close: long straight stitches laid side by side, catching the light as one smooth, filled surface.Exactly how to make it
One straight stitch at a time
Completed stitches are shown in blush, the stitch you're making now in red, and the next hole to come up through is circled in blue. Four threads is just our demonstration length — satin stitches can be any length the shape needs.
1
Come up at 1 (bottom), go down at 2 (top) — one straight stitch over four canvas threads.
2
Come up at 3, go down at 4 — the next straight stitch, right beside the first and exactly parallel.
3
Come up at 5, go down at 6 — keep them touching so no canvas shows between.
4
Come up at 7, go down at 8 — even tension is what gives satin its sheen.
5
Come up at 9, go down at 10 — parallel, parallel, parallel.
6
Come up at 11, go down at 12 — a smooth, filled band of straight stitches.
This is normal: your first stitches may not lie perfectly flat. Even tension comes with practice; pulling slowly — or laying the thread with a spare needle — helps them sit smooth and shiny.
What yours should look like
Front and back
Common mistake — and the fix
Keep the stitches truly parallel and snug against each other. A stitch that leans, or a gap that lets canvas peek through, breaks the smooth sheen that makes satin worth doing.
Keep going
Next in your stitch path
Brick stitch
Back to the full Stitch Library →
Written for absolute beginners, in plain language.
Spot something we could make clearer or more precise?
Report a correction →